![]()
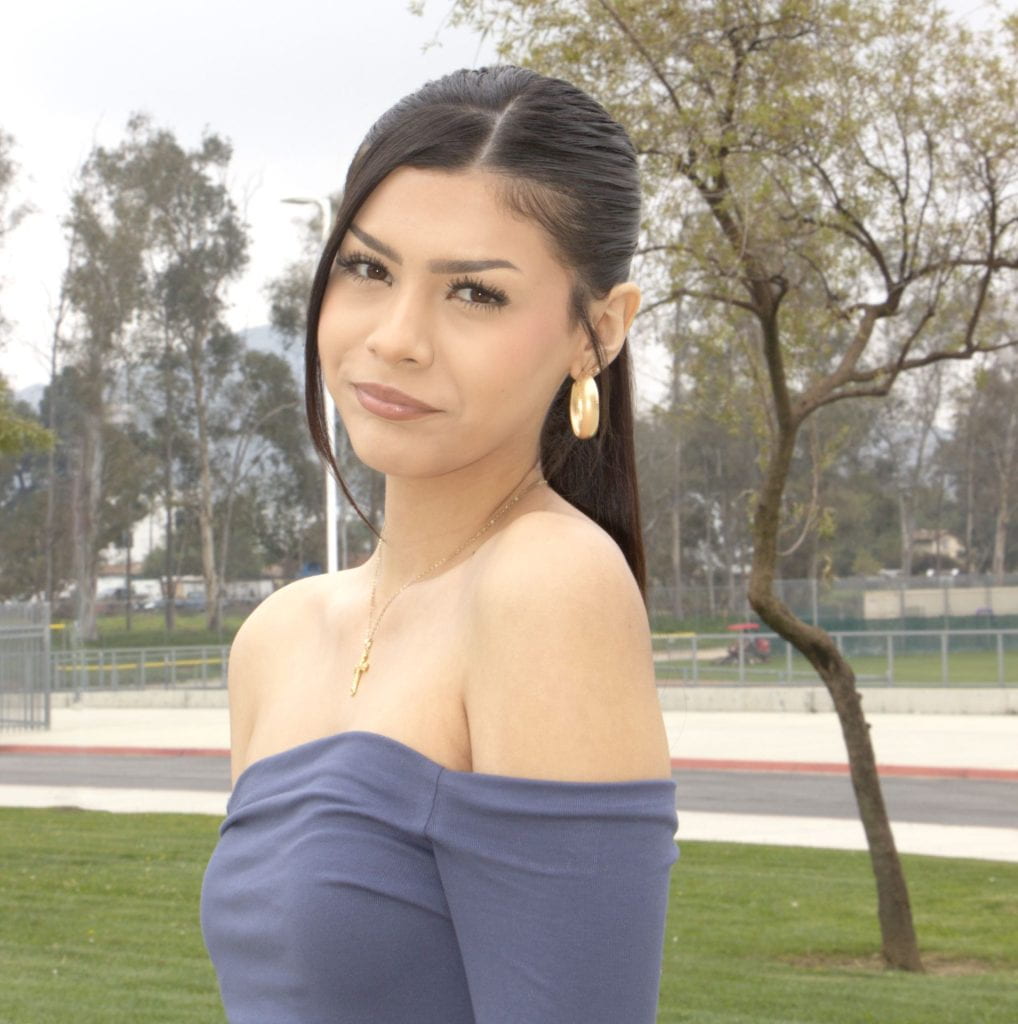
My Favorite Teacher with bounce flash

This is Ms. Pulido. She is my favorite teacher due to many reasons. She was very open and welcoming. When my friends didn’t have the same lunch as me, she would welcome me to stay in her class during lunch. She would always be there for me and put a smile on my face when she sees me down.
External Flash
- it allows you to work with a blank canvas.
- the TTL light metering system also helps the camera gauge how much exposure to provide if you’re using a flash setup.
- flash synchronization or flash sync is the synchronizing the firing of a photographic flash with the opening of the shutter admitting light to photographic film or electronic image sensor.
- evaluative through the lens.
- black bands are the result of your shutter curtain blocking a part of the image during the exposure.
- bounce flash diffusers provide a different approach to soften the light.
- slave mode is a mode that instructs a flash unit to monitor incoming light, and fire when it senses the light produced by another flash unit firing.
- fix your metering.
Fill Flash Outside Article
It is just a method of taking pictures where the flash on the camera is used to bring attention to the darker parts of the picture, particularly the subject. Fill flash is used in order to properly expose the subject when it is underexposed because of a lack of sunlight, other lights, or occasionally because of the backlight. Many photographers find it difficult to use fill flash because they fear that the image will be overexposed. But you can master your photography if you use a fill flash properly. When taking pictures outside, you would use this flash technique to give your subject more insufficient natural light to adequately illuminate your topic, you would need to use it.
Studio Portraits

I really like the 2-color contrast. An even blend with both colors. The red brining out her cheekbone. The lovely blend between both colors.


Indeed Jobs
Marketing/ Social Media Specialist
- Yes, I meet the requirements for this position.
- Proven work experience as a Social Media Specialist or similar role, In-depth knowledge of social media platform, including Facebook, Instagram, Twitter, LinkedIn, ect.
- Because it pays good, and I like social media.
- 24-28$ starting for the job.
- Knowing myself I would be able to because I don’t really need a lot.
- For this job I would want to be a well-known photographer.
HDR Photography

 My image is very bright. The red being very bright. The red making it eye catching. The snowy mountains in the back add an even balance. The palm trees next to the palm tree giving beach vibes. A almost full field image. The bright green from the turf also catches the human eye. As well as the wet floor adding difference on the track. The yellow in the back also adding color.
What Beginners need to know
- Setting the exposure using the histogram – Although the LCD screen of the camera can be a useful tool for confirming accuracy, it can be unreliable in some situations, such as direct sunlight. The histogram is the most useful tool for determining the correctness of your exposure.
- RAW – even though the majority of cameras generate high-quality JPGs, RAW files still outperform them. The fact that JPG files are compressed is a drawback of the format.
- Selecting focusing points manually – Although your camera can choose the focusing points for you, it is not always able to predict accurately. For this reason, being able to manually adjust the AF points is a helpful ability.
- Learn all AF modes -the majority of cameras have many autofocus modes, such as AI Autofocus, Servo AF, and One-shot AF. Depending on the topic and circumstance, each of these modes has a distinct use.
- Aperture Priority – your camera will adjust the exposure settings in aperture priority mode based on the aperture value you enter. Total control over aperture translates into total control over depth of field.
- Shutter Priority – The shutter priority mode works just like aperture priority, in the sense that it gives you complete control over shutter speed while making all the other settings automatically, according to the selected value.
- Control motion blur – Motion blur often comes from using a shutter speed that is too slow for holding the camera in your hands. Every photographer has a maximum low speed they can use. For some it’s 1/60th, but others can shoot hand held at 1/8th.
- Manual White Balance – All digital cameras have a few white balance presets. While they can do a fairly decent job, we recommend learning to set white balance manually, according to each lighting situation.
- Drive Modes – This isn’t a major setting, but you never know when you’re going to have drive modes. Essentially, there are three of them: single shot, continuous low and continuous high.
- ISO – Learn how to select the correct ISO value depending on the lighting conditions. Lower values are great when there is plenty of light to work with. Higher ISO values are needed for working in low light. Just keep the noise levels in mind.
- Auto-ISO -We’re generally not fond of any auto setting, but auto ISO will help you when shooting hand held. It will increase or decrease the value in order to allow you to shoot with a shutter speed fast enough for hand held operation.
- Exposure compensation – It is a +/- scale that will tell your camera to increase or decrease exposure, depending on your needs. It works for all semi-automatic modes (P, Av, TV) and will influence exposure in increments. Be careful not to set it too high or low from the first attempt and instead try to get to a correct exposure gradually.
- Manual exposure – The last stage of learning how to use your camera’s settings is full manual control. You can’t call yourself a real photographer until you’ve learned to control every little setting on your camera. Only then will you be able to use it at its full potential.
Illustration of an iconic image

Capturing Candid Motions

A random couple walking to class.
This was taken by Ron Galella. Ron was a famous photographer. He shot this very nice candid picture. The picture is in black and white. The black and white caught my attention very well. Im sure the shutter speed had to be very quick to have such a clear image. The shutter speed had to be more than a 60th of a second.